
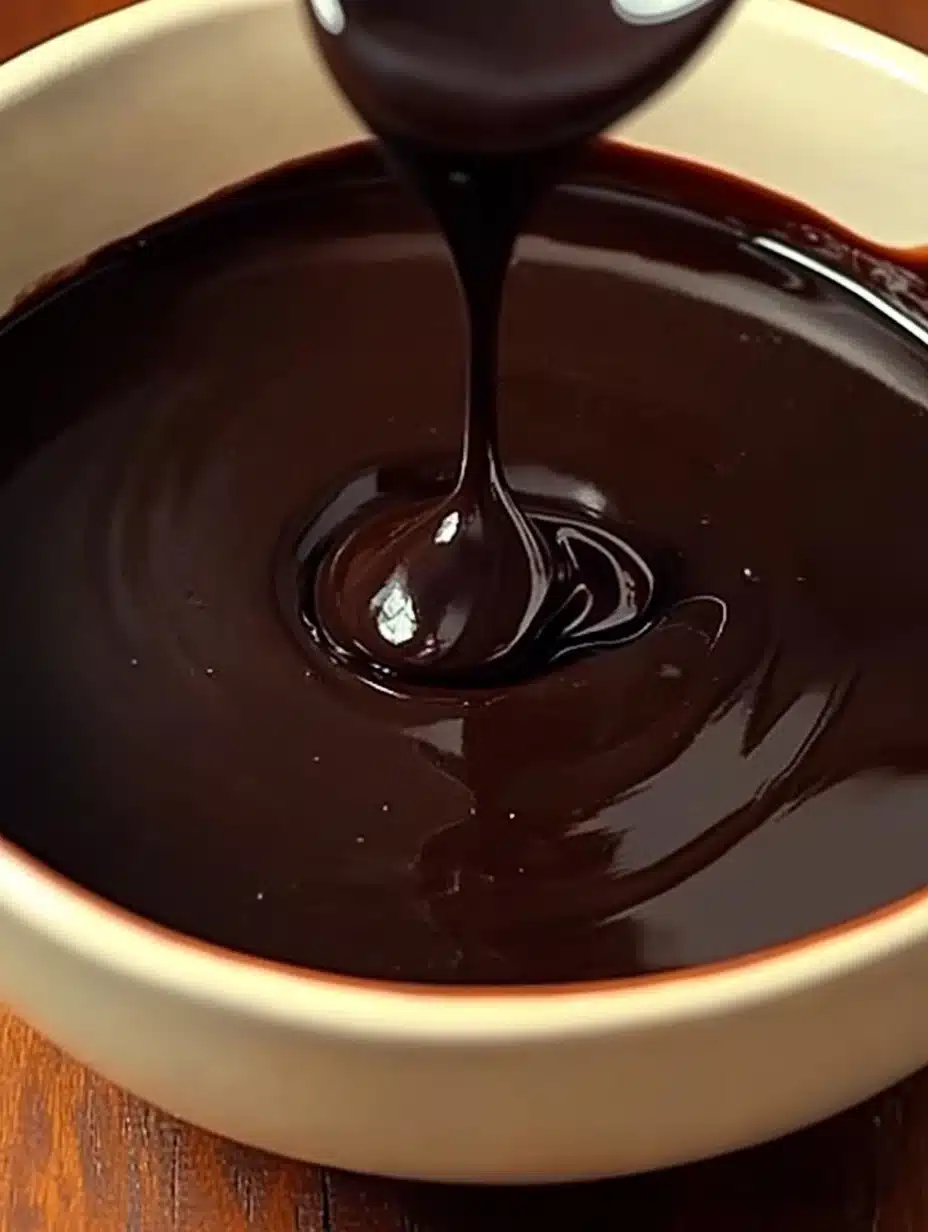
Homemade chocolate syrup is a delightful treat that can elevate your desserts and drinks to new heights. This versatile syrup can be used in countless ways, from topping ice cream to enhancing your morning coffee. When you make it at home, you maintain control over the ingredients, ensuring that you can customize the flavor to your liking. Plus, knowing exactly what goes into your syrup gives you peace of mind.
Imagine pouring warm, rich chocolate syrup over pancakes, waffles, or your favorite desserts and watching it melt into a heavenly pool of chocolate goodness. It’s an experience that sparks joy and reminds you of childhood indulgences. This homemade version not only delivers on taste but also offers a sense of accomplishment and nostalgia.
In this comprehensive guide, you will discover the reasons to love this recipe, learn about the preparation and cooking time, find a list of necessary ingredients, follow step-by-step instructions, and get tips on how to serve this amazing homemade chocolate syrup. Whether you’re treating yourself or impressing guests, the incredible flavor and smooth texture of homemade chocolate syrup is sure to please.
Why You’ll Love This Recipe
Making homemade chocolate syrup is a rewarding experience, and there are numerous reasons why it stands out from store-bought versions. Here are several benefits that make this recipe worth trying:
1. Quality Control: By making your own chocolate syrup, you know exactly what’s in it—no preservatives or artificial ingredients.
2. Customization: You can adjust the sweetness and intensity of chocolate according to your taste preferences.
3. Simple Ingredients: The ingredients required are common pantry staples, making it easy to whip up on a whim.
4. Quick and Easy: The entire process takes less than 30 minutes, giving you a fresh batch of syrup in no time.
5. Versatile Use: This syrup is perfect for drizzling over desserts, mixing into beverages, or even as a part of baking recipes.
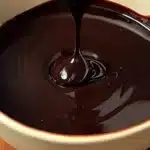
6. Delicious Flavor: The rich and smooth consistency of homemade chocolate syrup is simply unmatched.
With these reasons in mind, you’ll see why homemade chocolate syrup can become a staple in your kitchen!
Preparation and Cooking Time
Creating a batch of homemade chocolate syrup requires minimal time and effort. Here’s a breakdown of the time required:
– Preparation Time: 5 minutes
– Cooking Time: 10-15 minutes
– Total Time: 15-20 minutes
This quick process allows you to enjoy delicious chocolate syrup without spending hours in the kitchen!
Ingredients
– 1 cup granulated sugar
– 1 cup water
– 1 cup unsweetened cocoa powder
– 1/2 cup light corn syrup
– 1 teaspoon vanilla extract
– A pinch of salt
Step-by-Step Instructions
Making homemade chocolate syrup is straightforward, following these easy steps:
1. Combine Ingredients: In a medium saucepan, mix the granulated sugar, water, cocoa powder, light corn syrup, and a pinch of salt.
2. Heat Mixture: Place the saucepan over medium heat. Stir continuously until the sugar and cocoa are fully dissolved.
3. Bring to a Boil: Once the mixture is heated, allow it to reach a gentle boil, still stirring occasionally.
4. Simmer: Reduce the heat to low and let it simmer for about 5 minutes. This helps the syrup thicken to the desired consistency.
5. Add Vanilla: After simmering, remove the saucepan from the heat and stir in the vanilla extract.
6. Cool: Allow the syrup to cool slightly in the pan before transferring it to a clean jar or container.
7. Store: Once cooled, store your homemade chocolate syrup in the refrigerator. It can last for a couple of weeks.
This step-by-step process will guide you in creating a delightful homemade chocolate syrup effortlessly.
How to Serve
When it comes to serving your homemade chocolate syrup, consider these delightful ideas to enhance your experience:
1. Classic Drizzle: Pour it over ice cream, pancakes, or waffles for an indulgent treat.
2. Hot Chocolate Twist: Mix a tablespoon of the syrup into hot milk for a quick chocolate drink.
3. Coffee Enhancer: Add a drizzle to your morning coffee or iced coffee for a sweet chocolate flavor.
4. Dessert Topping: Use it as a topping for brownies, cakes, or pies for an extra decadent touch.
5. Fruit Dip: Serve it alongside fresh fruits like strawberries or bananas for a fun and sweet dip.
6. Milkshake Base: Blend it into milkshakes for a chocolatey delight that everyone will love.
With these serving suggestions, your homemade chocolate syrup can be enjoyed in multiple ways, making every dish a bit sweeter.
Additional Tips
– Use Quality Cocoa Powder: For the best flavor, opt for high-quality unsweetened cocoa powder. This enhances the rich taste of your homemade chocolate syrup.
– Adjust Consistency: If you prefer a thinner syrup, add a little more water during cooking. For a thicker syrup, allow it to simmer longer.
– Experiment with Flavors: Consider adding a pinch of cinnamon or a splash of espresso for an exciting twist on the traditional chocolate flavor.
– Make It Dairy-Free: Substitute light corn syrup with maple syrup or agave nectar for a dairy-free version.
– Keep it Fresh: Shake the jar before use to ensure that the ingredients are well blended after storage.
Recipe Variation
Feel free to get creative with your homemade chocolate syrup! Here are a few variations to consider:
1. Spiced Chocolate Syrup: Add a mix of spices, such as nutmeg or cayenne pepper, for a unique flavor profile that pairs well with desserts.
2. Mint Chocolate Syrup: Infuse your syrup with mint extract for a refreshing chocolatey treat that’s perfect for topping over ice cream.
3. Dark Chocolate Variation: Use dark cocoa powder instead of regular unsweetened cocoa for a richer, more intense chocolate flavor.
Freezing and Storage
– Storage: Store your homemade chocolate syrup in an airtight container in the refrigerator. It can last up to two weeks while maintaining its delicious flavor.
– Freezing: If you want to keep it longer, pour the syrup into freezer-safe containers or ice cube trays. This allows you to thaw only what you need for future recipes.
Special Equipment
You don’t need much to make homemade chocolate syrup. Here are the essential tools you’ll require:
– Medium saucepan for cooking the syrup
– Whisk or spatula for stirring the mixture
– Measuring cups for accurate ingredient portions
– Clean glass jar or container for storage
– Funnel (optional) for easier pouring into storage containers
Frequently Asked Questions
Can I use different types of sugar?
Yes, you can substitute the granulated sugar with brown sugar for a different flavor profile. The syrup will have a deeper caramel-like taste.
Is it possible to make this syrup vegan?
Absolutely! This recipe is already vegan, given that it uses plant-based ingredients.
Can I scale this recipe?
Yes, you can easily double or triple the recipe to make larger batches. Just be sure to use a larger saucepan when increasing the quantity.
What can I do if my syrup is too thick?
If your syrup turns out too thick, simply whisk in a little warm water until the desired consistency is reached.
How do I use leftover syrup?
Use leftover syrup in various ways! It can enhance waffles, pancakes, or even oatmeal. You can also drizzle it over yogurt or mix it into baking recipes.
Conclusion
Homemade chocolate syrup is not only a delicious addition to your treats but also a fantastic way to bring back childhood nostalgia. Its rich, smooth flavor can be tailored to your liking, making every bite a personalized indulgence. With simple ingredients, quick preparation, and endless serving possibilities, it’s a treat worth making at home. Delight yourself and your loved ones with this incredible recipe.
Homemade Chocolate Syrup: An Incredible Ultimate Recipe to Satisfy Your Sweet Tooth
- Total Time: 0 hours
Ingredients
– 1 cup granulated sugar
– 1 cup water
– 1 cup unsweetened cocoa powder
– 1/2 cup light corn syrup
– 1 teaspoon vanilla extract
– A pinch of salt
Instructions
Making homemade chocolate syrup is straightforward, following these easy steps:
1. Combine Ingredients: In a medium saucepan, mix the granulated sugar, water, cocoa powder, light corn syrup, and a pinch of salt.
2. Heat Mixture: Place the saucepan over medium heat. Stir continuously until the sugar and cocoa are fully dissolved.
3. Bring to a Boil: Once the mixture is heated, allow it to reach a gentle boil, still stirring occasionally.
4. Simmer: Reduce the heat to low and let it simmer for about 5 minutes. This helps the syrup thicken to the desired consistency.
5. Add Vanilla: After simmering, remove the saucepan from the heat and stir in the vanilla extract.
6. Cool: Allow the syrup to cool slightly in the pan before transferring it to a clean jar or container.
7. Store: Once cooled, store your homemade chocolate syrup in the refrigerator. It can last for a couple of weeks.
This step-by-step process will guide you in creating a delightful homemade chocolate syrup effortlessly.
- Prep Time: 15 minutes
- Cook Time: 10-15 minutes
Nutrition
- Serving Size: Varies
- Calories: Approximately 70 kcal per tablespoon
- Fat: 0g
- Protein: 0g